

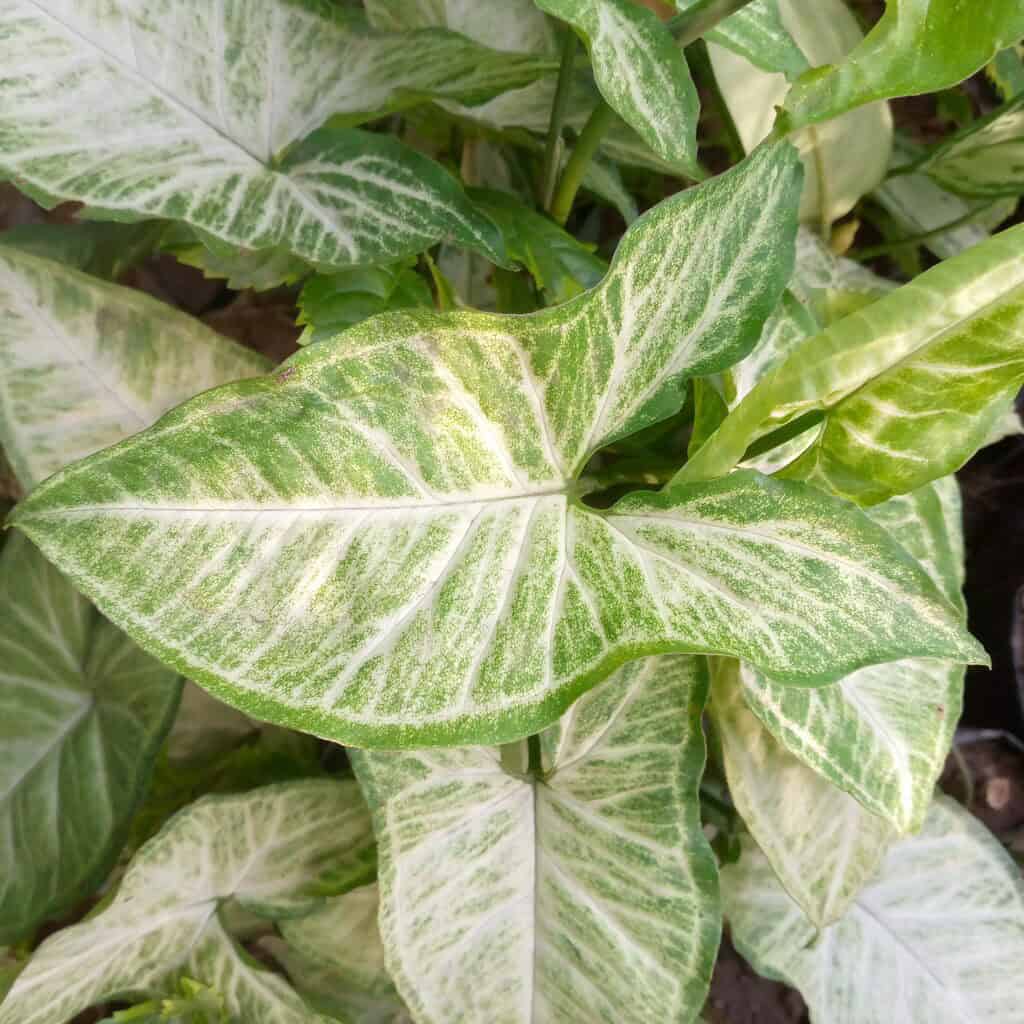
If you’ve ever wanted to multiply your favorite houseplants without spending a dime, learning how to propagate houseplants using air layering is going to be a total game-changer for you. I discovered this technique a few years ago when my fiddle leaf fig had gotten way too tall, and I honestly wish someone had shown me sooner. It sounds fancy, but it’s really just a clever way to encourage roots to grow on a stem while it’s still attached to the parent plant. How to Propagate Houseplants Using Air Layering is a popular choice for gardeners.
The best part? You don’t need any special gardening experience to pull this off. Once you understand the basic steps, you’ll be making new plants left and right, and your friends will think you’re some kind of plant wizard!
What You Need to Propagate Houseplants Using Air Layering
Before you get started, let’s gather your supplies. You don’t need anything expensive or hard to find. Most of these items are already sitting in your garage or available at any garden center.
Here’s your shopping list: a sharp knife or pruning shears, sphagnum moss, plastic wrap, and some twist ties or tape to seal everything up. You’ll also want rooting hormone powder, which you can find at most garden stores. It’s not absolutely required, but it really does speed things up and I always use it.
Pick a healthy, mature plant to work with. Air layering works best on woody-stemmed houseplants like fiddle leaf figs, rubber plants, monsteras, and dracaenas. Avoid stems that look weak or diseased, because you want that new plant to start life as strong as possible.
One Florida tip from me: since our humidity here is naturally high, the moss tends to stay moist longer than it would in drier climates. That’s actually a big advantage for us! If you’re gardening in a drier part of the country, you may need to check and re-moisten your moss more often.
Step-by-Step Guide to Air Layering Houseplants
You might also enjoy: Starting Tomato and Pepper Seeds Indoors in February
Now for the fun part! Start by picking a spot on the stem about 12 to 18 inches from the tip. This is where your new roots will grow. Use your knife to make two cuts about an inch apart, going about one-third of the way through the stem. Then peel away the bark between those two cuts to expose the inner wood. This part is called girdling, and it’s what tells the plant to start pushing out roots at that spot.
Dust the exposed area with your rooting hormone powder. Then take a big handful of sphagnum moss and soak it in water until it’s thoroughly wet. Squeeze out the extra water so it’s damp but not dripping. Pack that moist moss around the cut area, making a nice big ball of it.
Wrap the whole moss ball tightly with clear plastic wrap. Twist and seal both ends with tape or twist ties so no moisture escapes. You want that little moss bundle to stay consistently damp in there. The University of Florida IFAS Extension has great resources on houseplant care if you want to read more about keeping your plants happy through this process.
Check on it every week or so. You’re looking for roots to start showing through the plastic wrap, which usually takes anywhere from four to eight weeks depending on the plant and the time of year.
How to Know When Air Layering Houseplants Has Worked
This is honestly my favorite part, because seeing those roots appear feels like magic every single time. When you can see a good network of white roots filling the moss ball and pressing against the plastic wrap, you’re ready to cut. Don’t rush this step! The more roots you see, the better your new plant’s chances of surviving on its own.
Use clean, sharp scissors or pruning shears to cut the stem just below the rooted section. Carefully unwrap the plastic, but leave the moss attached to the roots. Trying to pull the moss off can damage those delicate new roots, and that’s the last thing you want after waiting so patiently.
Pot your new plant in fresh, well-draining potting mix. I like to use a mix designed for tropical houseplants, since most of the plants I air layer are tropicals. Water it in gently and place it somewhere bright but out of direct sun for the first couple of weeks. Think of it like helping a baby plant adjust to its new life!
The University of Minnesota Extension has a helpful overview of layering techniques if you want to compare methods and see which one fits your plants best.
Troubleshooting Tips When Things Don’t Go as Planned
Don’t panic if your first attempt doesn’t work out perfectly. Mine didn’t either! The most common issue people run into is the moss drying out before roots develop. If that happens, just carefully unwrap it, re-moisten the moss, and wrap it back up. Easy fix!
Another thing that can go wrong is mold growing inside the plastic wrap. A little bit of mold is actually pretty normal and won’t hurt anything. But if you see a lot of it, unwrap the moss, let it air out for a day, and rewrap with fresh plastic.
Sometimes roots just take longer than expected, especially in cooler months. In Florida, I find that spring and summer are the best times to try this because the warmth really speeds up root development. If you’re attempting this in winter, just be patient and give it a few extra weeks.
The most important thing is to not give up after one try. Every plant is a little different, and once you get the hang of it, you’ll be propagating plants all over your house. It really is one of the most satisfying things you can do as a plant lover!
Learning how to propagate houseplants using air layering opens up a whole new world of possibilities for your indoor garden. You can multiply expensive plants, save a leggy one that’s gotten too tall, or share cuttings with your plant-loving friends. It’s genuinely one of the coolest skills you can add to your gardening toolkit.
So grab your moss and your plastic wrap and give it a try! I’d love to hear how your air layering projects turn out, so drop a comment below and let me know which plant you’re starting with. You’ve totally got this!
