
Starting cool-season vegetable seeds indoors in January is one of my favorite ways to kick off the gardening year! Here in Florida, January is perfect timing because we can get our seedlings established before transplanting them outside in late February or early March. I’ve been doing this for years, and it’s amazing how much earlier you can harvest when you get that indoor head start. Starting Cool-season Vegetable Seeds Indoors in January is a popular choice for gardeners.
The best part about starting seeds indoors is the control you have over everything. You don’t have to worry about unexpected cold snaps, heavy rains, or hungry critters munching on your baby plants. Plus, there’s something so satisfying about watching those tiny seeds transform into healthy seedlings right on your kitchen counter or spare bedroom windowsill.
Best Cool-Season Vegetables for Starting Seeds Indoors in January
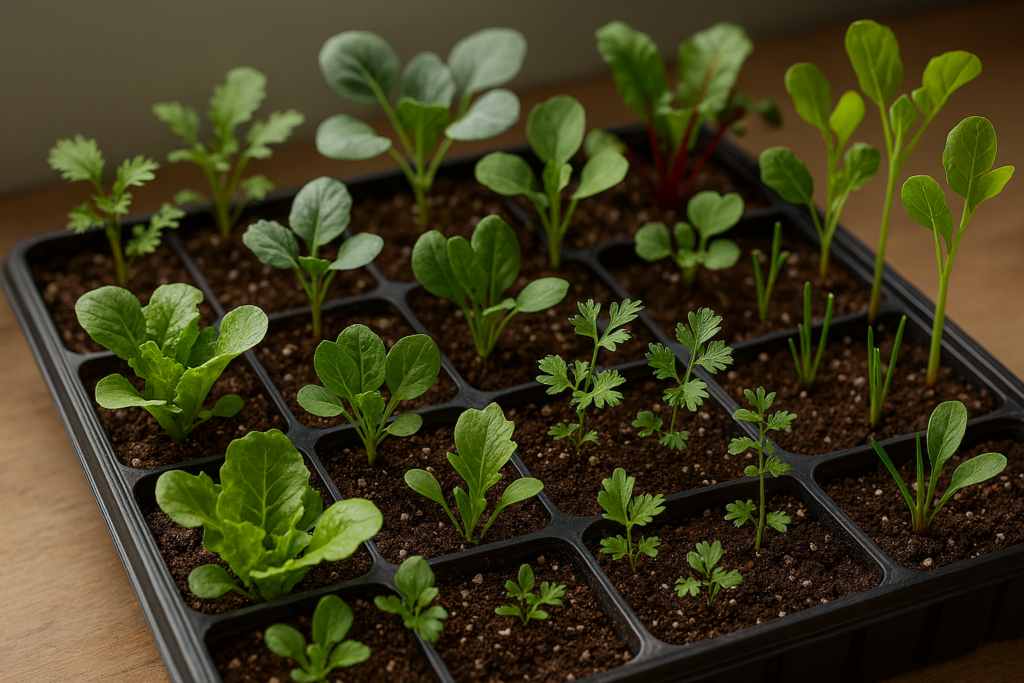
When I’m starting cool-season vegetable seeds indoors in January, I always reach for my tried-and-true favorites first. Lettuce, spinach, and arugula are absolutely foolproof for beginners. These greens germinate quickly (usually within a week) and don’t mind being a little crowded in their seed trays.
Broccoli and cauliflower are also fantastic choices, though they need a bit more space as they grow. I learned the hard way that these brassicas get leggy fast if you don’t give them enough light! Cabbage is another winner that transplants beautifully once the weather cools down outside.
Don’t overlook herbs like cilantro, parsley, and chives either. They’re incredibly easy to grow from seed and will give you fresh herbs for months. I always plant extra cilantro because it bolts so quickly in our Florida heat once transplanted outside.
Peas are tricky but totally worth it if you have a sunny spot. They need cooler conditions, so I keep mine in my coolest room and watch them carefully. Swiss chard is practically indestructible and comes in such pretty colors that it doubles as decoration while it’s growing on your windowsill.
Setting Up Your Indoor Seed Starting System
For more gardening tips, check out: Starting Cool-season Vegetables Indoors in January for Early Spring Harvests
You don’t need fancy equipment to start cool-season vegetable seeds indoors in January successfully. I use basic plastic seed trays with drainage holes, and they work perfectly. You can find these at any garden center, or even reuse containers like yogurt cups (just poke some holes in the bottom).
The key is using good quality seed starting mix, not regular potting soil. Seed starting mix is finer and drains better, which prevents your tiny seeds from rotting. I’ve tried making my own mix, but honestly, the commercial stuff works so much better that I just buy it now.
Lighting is where most people struggle, especially here in Florida where our winter days can be pretty cloudy. A simple LED grow light makes all the difference. I hang mine about 6 inches above my seedlings and keep it on for 12-14 hours a day. Your plants will tell you if they need more light by getting tall and spindly.
Temperature matters too, but most homes stay warm enough naturally. I aim for around 65-75°F, which is pretty normal for indoor temperatures. If your house runs cold, you can set your seed trays on top of the refrigerator where it’s a bit warmer.
Caring for Your Indoor Cool-Season Seedlings
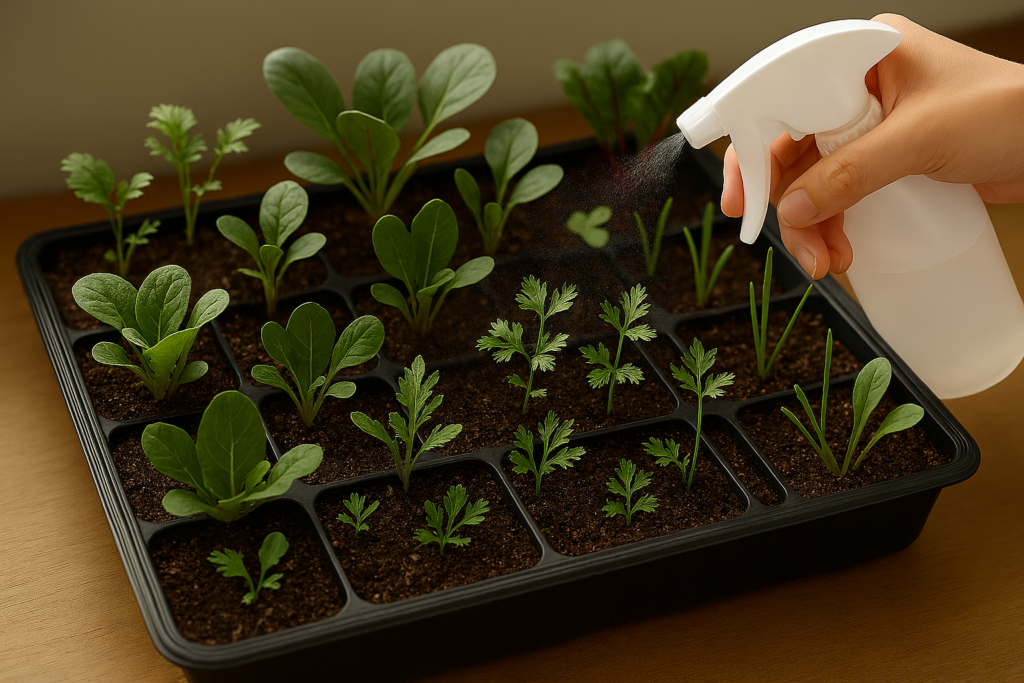
Once your cool-season vegetable seeds start sprouting (usually within 5-10 days), the real fun begins! I check on mine every morning with my coffee, and it’s amazing how much they can grow overnight. The most important thing is keeping the soil consistently moist but not soggy.
I use a spray bottle to mist the surface gently rather than pouring water directly. This prevents the tiny seedlings from getting knocked over or the seeds from washing away. As they get bigger, you can water more normally, but always check that the soil drains well.
Thinning is probably the hardest part for me because I hate pulling up perfectly good baby plants! But overcrowded seedlings will all suffer, so I bite the bullet and thin them when they have their first true leaves. I keep the strongest looking ones and compost the rest.
The University of Florida Extension recommends starting to fertilize lightly once seedlings have their second set of true leaves. I use a diluted liquid fertilizer (about quarter strength) every two weeks. Too much fertilizer will make them grow too fast and get weak and floppy.
Transplanting and Hardening Off Your Seedlings
The hardening off process is super important but often overlooked. About a week before you plan to transplant outside (usually late February here in Florida), start taking your seedlings outside for short periods. I begin with just an hour in a shaded, protected spot and gradually increase the time and sun exposure.
This gradual introduction prevents transplant shock, which can set your plants back weeks. I learned this lesson the hard way when I lost half my broccoli seedlings by moving them outside too quickly! Now I’m much more patient with the process.
When transplanting day arrives, choose a cloudy day or do it in the evening to reduce stress on the plants. Dig your holes a bit wider than the root ball and water well both before and after planting. I always add a handful of compost to each planting hole because our sandy Florida soil needs all the organic matter it can get.
The USDA recommends spacing your transplants according to their mature size requirements. Don’t crowd them just because they look small now, they’ll fill out quickly once established in the garden.
Starting cool-season vegetable seeds indoors in January has completely changed my gardening game. There’s nothing quite like harvesting fresh lettuce and broccoli in March while your neighbors are just starting to think about planting! The key is starting with easy varieties, providing consistent care, and being patient with the hardening off process.
Give it a try this January, and I promise you’ll be hooked. Start small with just a few varieties, learn what works in your space, and expand from there. Before you know it, you’ll have the earliest and most abundant cool-season harvest in your neighborhood!
