
If you’re looking to learn how to grow ground cherries (physalis pruinosa) and want a complete guide to this unique husk fruit, you’re in for such a treat! I discovered these little golden gems a few years ago at a farmer’s market and immediately fell in love. They taste like a cross between a cherry tomato and a pineapple, wrapped in their own adorable papery lantern. How to Grow Ground Cherries (physalis Pruinosa): Complete Guide to This Unique Husk Fruit is a popular choice for gardeners.
Ground cherries are honestly one of my favorite discoveries in recent years. They’re super easy to grow, incredibly productive, and the kids absolutely love unwrapping each little fruit from its husk. Plus, they’re perfect for our Florida climate once you know a few tricks!
What Are Ground Cherries and Why Should You Grow Them?
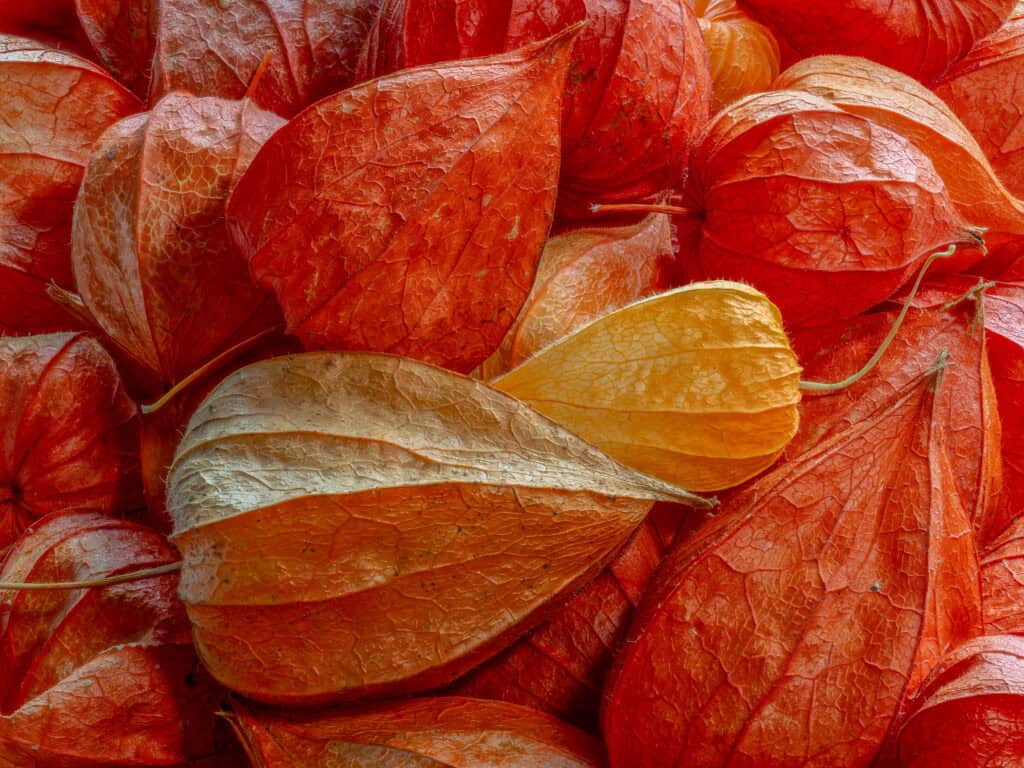
Ground cherries, also called husk cherries or cape gooseberries, are related to tomatoes and tomatillos. The scientific name physalis pruinosa sounds fancy, but don’t let that intimidate you. These plants produce small, sweet fruits enclosed in papery husks that look like tiny Chinese lanterns.
I love that ground cherries are basically foolproof to grow. They’re much more forgiving than tomatoes and way less fussy about soil conditions. The plants grow to about 2-3 feet tall and spread out nicely, making them perfect for containers or garden beds.
The flavor is absolutely unique and addictive. My kids describe them as “nature’s candy,” and honestly, that’s pretty accurate. They’re sweet with just a hint of tartness and a tropical undertone that reminds me of pineapple or mango.
Here in Florida, I’ve found they handle our heat and humidity better than most fruiting plants. They actually prefer our warm nights, unlike tomatoes that can struggle when it stays too hot. Plus, the husks protect the fruits from our afternoon thunderstorms and hungry birds.
How to Grow Ground Cherries: Starting from Seed
For more gardening tips, check out: Snake Plant Care Guide
Starting ground cherries from seed is super straightforward, and I actually prefer it to buying transplants since they’re not always available at nurseries. I start my seeds indoors about 6-8 weeks before our last frost date, which in central Florida is usually mid to late February.
The seeds are tiny, so I use a good seed starting mix and barely cover them with soil. I keep the soil consistently moist but not soggy, and they usually germinate within 7-14 days. The seedlings look almost identical to tomato seedlings at first, which makes sense since they’re cousins.
Once the seedlings have their first true leaves, I transplant them into larger pots. This gives them room to develop a strong root system before going outside. I’ve learned that rushing this step leads to weaker plants that don’t produce as well.
In Florida, I can usually transplant them outside in early March, but I always check the weather forecast first. Ground cherries are more cold-sensitive than tomatoes, so any chance of frost means they need to wait. I’ve made that mistake before and lost entire flats of seedlings to one unexpected cold snap.
Growing Ground Cherries: Perfect Conditions and Care
Ground cherries absolutely love full sun, so I give them at least 6-8 hours of direct sunlight daily. They’ll tolerate some afternoon shade, especially during our brutal Florida summers, but morning sun is essential for good fruit production.
The soil needs to drain well because these plants hate wet feet. I always add compost or aged manure to improve drainage and fertility. In Florida’s sandy soil, this organic matter also helps retain just enough moisture without creating soggy conditions.
Watering is pretty simple once you get the hang of it. I water deeply but less frequently, letting the top inch of soil dry out between waterings. During our rainy season, I actually cover my plants or grow them under a roof overhang to prevent root rot.
Fertilizing is where ground cherries differ from tomatoes. They don’t need as much nitrogen, and too much actually reduces fruit production. I use a balanced fertilizer like 10-10-10 once a month, or I side-dress with compost every few weeks. The University of Florida extension recommends avoiding high-nitrogen fertilizers for physalis crops, and I’ve found this to be absolutely true.
Harvesting and Enjoying Your Ground Cherry Crop
This is honestly the most fun part of growing ground cherries! The fruits are ready when they fall off the plant naturally and the husks turn papery and tan-colored. I usually find them scattered on the ground around the plant, which is how they got their common name.
You can also gently shake the plant and collect any fruits that fall off easily. If the husk is still green and tight, the fruit isn’t ready yet. Ripe ground cherries will keep for weeks in their husks at room temperature, or even longer in the refrigerator.
I love eating them fresh right out of the garden, but they’re also amazing in jams, pies, and salads. My favorite way to preserve them is making ground cherry salsa, which has become a hit at every potluck I bring it to. The sweet-tart flavor pairs perfectly with spicy peppers and onions.
The plants keep producing until the first frost, which in Florida means I’m harvesting from June all the way through December. A single plant can produce hundreds of fruits over the season, so a few plants will keep most families well-supplied.
Growing ground cherries has been one of my most rewarding gardening adventures, and I think you’ll love them just as much as I do. They’re forgiving enough for beginners but interesting enough to keep experienced gardeners engaged. Once you taste that first perfectly ripe fruit with its unique tropical flavor, you’ll understand why I’m so passionate about this complete guide to growing physalis pruinosa in your own garden!
