
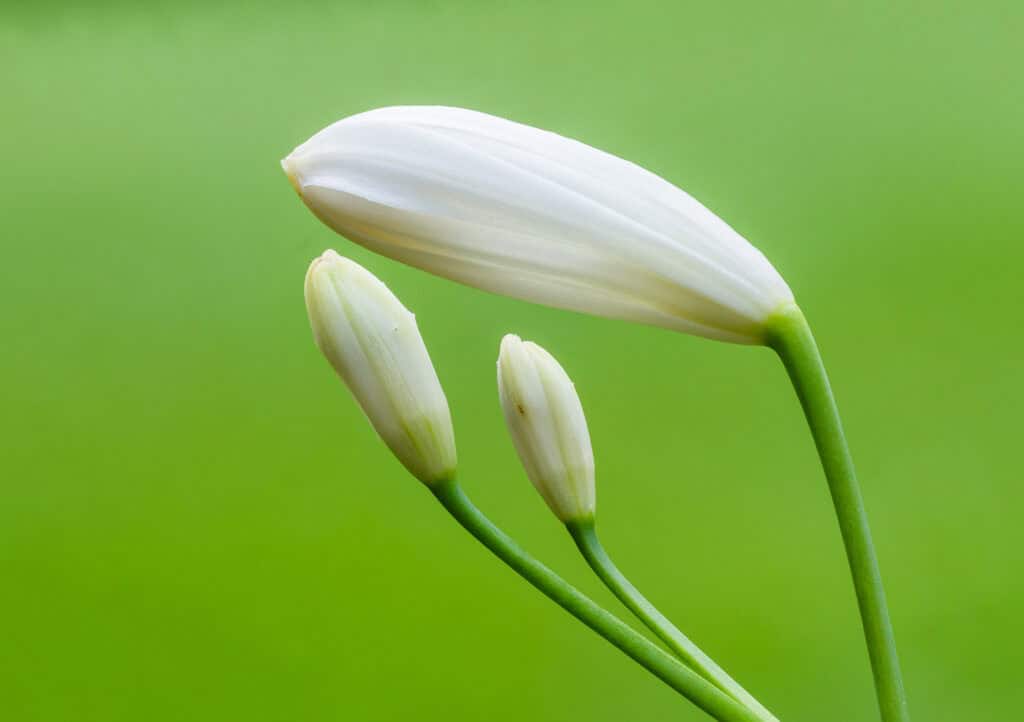
If you’ve been wondering how to grow Agapanthus Praecox, you’re in for a treat because this plant is absolutely gorgeous. Those big, round clusters of blue or white flowers on tall stalks are seriously show-stopping. I planted my first one along my front walkway a few years ago and I still get compliments on it every summer. How to Grow Agapanthus Praecox is a popular choice for gardeners.
Agapanthus Praecox is also called African lily or lily of the Nile, and it’s one of those plants that looks like it requires a lot of fuss but really doesn’t. It’s tough, it’s beautiful, and it thrives in warm climates like ours here in Florida. What’s not to love?
How to Grow Agapanthus Praecox: Getting Started with Planting
The first thing you need to know is that Agapanthus Praecox loves sunshine. It does best with at least six hours of direct sun each day, though here in Florida’s intense summer heat, a little afternoon shade can actually help it out. I’ve grown mine in both full sun and partial shade, and the full sun spot definitely produced more flowers.
When it comes to soil, this plant isn’t too picky, but it really hates sitting in soggy ground. You want well-draining soil that lets water move through easily. If your yard has heavy clay soil like parts of mine do, mix in some compost or coarse sand before planting to help with drainage.
The best time to plant in Florida is fall or early spring when temperatures are a little cooler. This gives the roots time to settle in before the brutal summer heat arrives. Space your plants about 18 to 24 inches apart so they have room to spread out as they grow.
Agapanthus Praecox grows from fleshy rhizomes, which are basically thick underground stems. When you plant them, set the rhizomes just below the soil surface with the growing tips pointing up. Don’t bury them too deep or they’ll struggle to bloom. You can learn more about rhizome planting basics over at UF/IFAS Gardening Solutions, which is honestly one of my go-to resources for Florida-specific plant advice.
Watering and Feeding Your Agapanthus Praecox
You might also enjoy: How to Grow Basil Indoors
One of the reasons I love this plant so much is that it’s pretty drought-tolerant once it gets established. During the first few months after planting, water it regularly to help the roots get settled. After that, you can ease off quite a bit.
I use the finger test for watering: poke your finger about two inches into the soil, and if it feels dry, go ahead and water. If it still feels damp, leave it alone for another day or two. Overwatering is actually a more common mistake than underwatering with this plant.
For fertilizing, I feed mine twice a year with a balanced slow-release fertilizer. I do one round in early spring before the blooming season kicks off, and another in early fall. This gives the plant a nice boost without going overboard. Too much fertilizer, especially nitrogen-heavy formulas, tends to push out lots of leafy growth but fewer flowers, and the flowers are the whole point!
Florida’s rainy season from June through September usually means you won’t need to water much at all. Just let the rain do the work and make sure your drainage is good so the roots don’t sit in standing water after those heavy afternoon storms we get.
How to Grow Agapanthus Praecox and Keep It Blooming Year After Year
Getting your Agapanthus Praecox to bloom consistently is really about a few simple habits. First, don’t deadhead spent flower stalks right away. Let them finish their cycle naturally, then cut the stalks down to the base once they’ve dried out. This helps the plant put energy back into the roots for next year’s blooms.
One thing that surprises a lot of new gardeners is that Agapanthus actually blooms better when it’s a little crowded. The plants tend to flower more freely when the roots are slightly pot-bound or snug in the ground. So don’t be in a rush to divide them every year. I usually divide mine every three to four years when they start looking really overcrowded.
When you do divide, early fall is the best time here in Florida. Dig up the clump, gently pull apart the rhizomes by hand or with a clean knife, and replant the divisions right away. Water them in well and they’ll settle in quickly. It’s also a great way to get free plants to share with neighbors or fill in other spots in your garden!
According to Wikipedia’s overview of Agapanthus Praecox, this species is native to South Africa, which explains why it handles heat and drought so well. That South African background makes it a natural fit for Florida gardens in zones 8 through 11.
Dealing with Pests and Common Problems
The good news is that Agapanthus Praecox is pretty resistant to most pests and diseases. I’ve had mine for years and haven’t dealt with any serious pest problems. That said, snails and slugs can sometimes munch on the leaves, especially after wet weather. A little slug bait or some diatomaceous earth around the base of the plants usually takes care of that.
In Florida, watch out for fungal issues during our super humid summers. If you notice yellowing leaves or mushy spots, it’s usually a sign of too much moisture. Make sure you’re not overwatering and that there’s good air circulation around the plants. Thinning out overcrowded clumps helps a lot with this.
Root rot is the biggest threat to these plants, and it almost always comes from poor drainage or overwatering. If a plant starts looking wilted even when the soil is wet, pull it up and check the roots. Healthy roots should be firm and white or light tan. If they’re brown and mushy, you’ve got rot. Trim off the damaged sections, let the roots air dry for a day, and replant in better-draining soil.
One more Florida-specific tip: if you’re in South Florida (zones 10 to 11), your Agapanthus might not get the cool winter rest period it naturally wants. You can still grow it successfully, but it may bloom a little less reliably than it would in Central or North Florida. Container growing is a great option in that case because you can move the pot to a cooler spot during winter months.
Growing Agapanthus Praecox is honestly one of the most rewarding things I’ve done in my Florida garden. It’s low-maintenance, it’s beautiful, and it comes back stronger every year. Once you get it established, it basically takes care of itself.
If you’re ready to give it a try, start with one or two plants and see how they do in your space. I’m willing to bet you’ll be hooked after that first bloom season! For more tips on Florida-friendly flowering plants, check out the Clemson Home and Garden Information Center for some great additional resources.
