

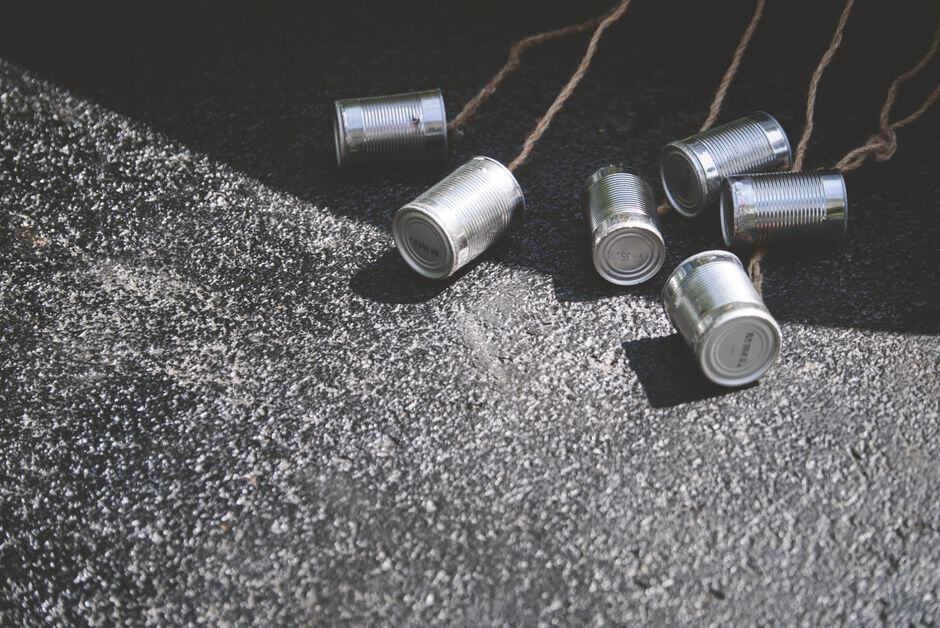
A DIY tin can herb garden is honestly one of my favorite beginner projects, and I’ve made so many of them over the years! There’s something so satisfying about turning empty soup cans into a little herb collection right on your windowsill or patio. It costs almost nothing, looks super cute, and gives you fresh herbs whenever you need them.
The best part? You don’t need a big yard or fancy equipment. A handful of cans, some potting soil, and a few herb seedlings are all it takes to get started. I’ve gifted these little gardens to so many friends and they always love them.
Getting Started With Your DIY Tin Can Herb Garden
First things first, you’ll need to gather your supplies. Save up your tin cans from beans, tomatoes, or coffee. Bigger cans like the 28-ounce tomato cans work great for most herbs because they give the roots more room to grow.
Before you do anything else, you need to add drainage holes to the bottom of each can. I use a hammer and a nail to poke 4-5 holes in the bottom. Without drainage, your herbs will sit in soggy soil and the roots will rot fast. Trust me, skipping this step is the number one mistake beginners make.
Once your cans are ready, grab some good quality potting mix. Don’t use regular garden soil from your yard because it gets too compacted in containers. A light, well-draining potting mix is the way to go. I usually mix in a little perlite to help with drainage, especially here in Florida where our summer rains can be intense.
You can paint or decorate your cans before planting if you want to make them extra pretty. Chalkboard paint is my personal favorite because you can write the herb names right on the can. Just make sure the paint is fully dry before you add soil and plants.
Best Herbs for a Tin Can Herb Garden
For more gardening tips, check out: DIY Stepping Stone Garden Pathway: Easy Weekend Project for Florida Gardens
Not all herbs are created equal when it comes to container growing, so let’s talk about which ones work best. Basil is my absolute top pick because it grows fast, smells amazing, and you’ll use it constantly in cooking. Chives, parsley, and cilantro are also fantastic choices for small containers.
Mint is a great option too, and honestly it’s better off in a container because it spreads like crazy in the ground. Keeping it in a tin can actually does you a favor! Just know that mint likes a bit more water than most other herbs.
If you’re here in Florida like me, you’ll want to think about our heat when choosing herbs. The University of Florida IFAS extension has a great guide on growing herbs in our climate. Basil absolutely thrives in our warm weather, but cilantro and parsley do better in our cooler months from October through March. I plant cilantro every fall and it just goes wild in the mild temperatures.
Rosemary and thyme are also wonderful for tin can gardens. They’re drought-tolerant once established, which makes them pretty forgiving if you forget to water for a day or two. I have a little rosemary can on my back porch that I barely fuss over and it just keeps growing.
Caring for Your DIY Tin Can Herb Garden
Now let’s talk about keeping your herbs happy once they’re planted. Most herbs love at least 6 hours of sunlight a day, so pick a sunny windowsill, a bright kitchen counter, or an outdoor spot that gets good morning sun. If you’re growing indoors and don’t have a super sunny window, a simple grow light works great too.
Watering is where a lot of people go wrong. Tin cans are small, so they dry out faster than bigger pots. I check mine every day by sticking my finger about an inch into the soil. If it feels dry, I water. If it still feels a little damp, I leave it alone for another day.
Here in Florida, outdoor tin can gardens can dry out really quickly in the summer heat. I water mine every morning during July and August, sometimes more if we haven’t had rain. In the winter months, I cut back to every couple of days. The Old Farmer’s Almanac has a helpful herb growing guide that breaks down watering and sunlight needs for common herbs if you want more detail.
Feeding your herbs doesn’t have to be complicated. I use a diluted liquid fertilizer about once a month during the growing season. Just don’t overdo it because too much fertilizer can actually make the flavor of your herbs less intense. Less is more here!
Harvesting and Keeping Your Herbs Productive
The secret to keeping your tin can herbs producing all season long is to harvest them regularly. I know it feels weird to cut back a plant that’s still small, but trimming actually encourages more growth. The more you snip, the bushier and fuller your herbs will get.
For basil, always pinch off the flower buds as soon as you see them forming. Once basil starts to flower, it puts all its energy into seeds instead of leaves, and the flavor gets bitter. I check my basil every few days during summer because it bolts fast in Florida’s heat.
For herbs like rosemary, thyme, and chives, just snip off what you need from the tips of the stems. Never cut more than a third of the plant at one time. That rule has saved many of my herbs from being over-harvested!
One more thing to watch for is pests. Aphids and whiteflies love tender herb plants, especially in warm climates. I spray mine with a simple mix of water and a few drops of dish soap if I spot any bugs. It works really well and it’s totally safe for edible plants.
Starting your own DIY tin can herb garden is such a rewarding little project. You’ll save money on fresh herbs at the grocery store, your kitchen will smell amazing, and you’ll feel like a total gardening pro. I promise it’s easier than you think!
Whether you line them up on a sunny windowsill or arrange them on your patio, a DIY tin can herb garden brings so much life to any space. Give it a try this weekend and let me know how it goes!
