
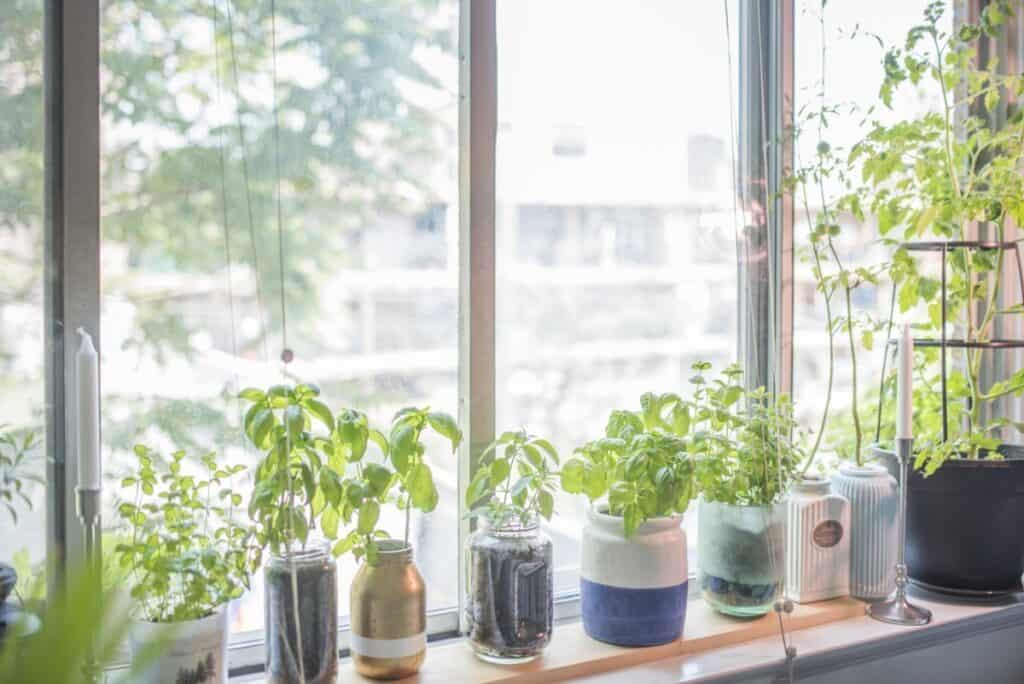
Learning how to grow herbs in mason jars for kitchen window gardens is one of my favorite ways to bring fresh flavors right into my kitchen. I started doing this about five years ago when I lived in a tiny apartment with zero outdoor space, and honestly, it changed my whole cooking game. There’s nothing quite like snipping fresh basil or oregano while you’re making dinner! How to Grow Herbs in Mason Jars for Kitchen Window Gardens is a popular choice for gardeners.
Mason jar herb gardens are perfect for beginners because they’re so forgiving and take up almost no space. You can grow everything from basil and parsley to thyme and chives right on your windowsill. Plus, here in Florida where our summers can be brutal, having herbs indoors means you don’t have to worry about them getting scorched by our intense afternoon sun.
Choosing the Right Herbs for Mason Jar Kitchen Gardens
When you’re starting your mason jar herb collection, some herbs are definitely easier than others. I always recommend beginners start with basil because it grows like crazy and you’ll see results fast. Parsley is another winner that’s practically impossible to kill, and it keeps producing new leaves for months.
Chives are amazing in mason jars because they grow in clumps and don’t need deep roots. I’ve had the same chive plant going for over two years now! Oregano and thyme work great too, though they grow a bit slower than basil and parsley.
The herbs I’d avoid in mason jars are the really big ones like rosemary or sage. They just get too large and need more root space than a jar can provide. Cilantro can work, but it tends to bolt quickly in our Florida heat, even indoors near a sunny window.
One tip I learned the hard way is to start with small plants from the nursery rather than seeds. Seeds can work, but transplants give you that instant gratification of having something green and growing right away.
Setting Up Your Mason Jar Herb Garden
Related article: How to Grow Basil Indoors
The setup for growing herbs in mason jars is surprisingly simple, but there are a few tricks that make all the difference. I use wide-mouth quart jars because they give the roots more space to spread out. Regular mouth jars work too, but they’re harder to plant in and harvest from.
Drainage is absolutely critical since mason jars don’t have holes in the bottom. I put about an inch of small pebbles or broken pottery pieces in the bottom of each jar. Some people use marbles, but I find pebbles work better because they’re not perfectly round and create more air pockets.
For soil, I use a good quality potting mix, never garden soil. Garden soil is too heavy and doesn’t drain well in containers. I mix in a little extra perlite to make it even more lightweight and well-draining. Trust me, soggy soil kills more herbs than anything else!
The planting process is pretty straightforward. Add your drainage layer, fill about three-quarters full with potting mix, make a small hole for your plant, and gently firm the soil around the roots. Water lightly until you see just a tiny bit of moisture at the bottom of the jar, but never let it get soggy.
How to Care for Herbs in Mason Jars
Caring for your mason jar herbs is where most people either succeed wildly or give up completely, but it’s really not that complicated once you get the hang of it. The biggest mistake I see is overwatering, which is super easy to do since there’s no drainage hole for excess water to escape.
I check my herbs every few days by sticking my finger about an inch into the soil. If it feels dry, I water very lightly, adding just enough to moisten the soil without creating a swamp at the bottom. In Florida’s humidity, I usually only need to water once or twice a week, but this varies depending on your home’s climate and how much sun your herbs get.
Light is another big factor in keeping your herbs happy and productive. Most herbs need at least 4-6 hours of bright light daily, so a south-facing window is ideal. If your kitchen doesn’t get enough natural light, you can supplement with a small grow light. I use a simple LED grow bulb in a regular desk lamp, and it works great.
Harvesting is the fun part, and doing it right actually helps your plants grow better! I pinch off leaves and small stems regularly, which encourages the plant to get bushy instead of tall and leggy. Never harvest more than about one-third of the plant at once, and always pinch just above where new leaves are forming.
Troubleshooting Common Problems
Even with the best care, you’ll probably run into a few issues as you learn how your herbs like to grow. The most common problem I see is yellowing leaves, which usually means either too much water or not enough light. If the soil feels soggy, hold off on watering for a few days and maybe add more perlite to improve drainage.
Leggy, stretched-out growth is another telltale sign that your herbs aren’t getting enough light. The plants literally stretch toward whatever light they can find, resulting in weak, spindly stems. Moving them to a brighter window or adding supplemental lighting usually fixes this quickly.
Pests can occasionally be an issue, especially if you move plants in and out of the house. Aphids are the most common culprits, but a gentle spray with soapy water usually takes care of them. I mix a few drops of dish soap in a spray bottle with water and give the plants a light misting.
If your herbs stop producing new growth or the leaves start tasting bitter, they might be getting rootbound. This usually happens after 6-8 months in the same jar. You can either transplant to a larger container or start fresh with new plants.
Some herbs, like basil, will try to flower as they mature. While the flowers are pretty, they make the leaves taste bitter, so I pinch off any flower buds as soon as I see them. This keeps the plant focused on producing those delicious leaves we’re actually growing them for.
Growing herbs in mason jars has honestly been one of my most rewarding gardening adventures, especially when I was just starting out. There’s something magical about having fresh herbs right at your fingertips while you’re cooking, and the satisfaction of growing them yourself never gets old.
Don’t be discouraged if your first attempt doesn’t go perfectly. I definitely killed my share of plants when I was learning how to grow herbs in mason jars for kitchen window gardens, but each failure taught me something valuable that made the next attempt better.
