
If you’ve ever wondered how to grow and blanch cardoon: the forgotten Mediterranean artichoke cousin, you’re in for a treat! This impressive plant looks like a giant celery crossed with an artichoke, and honestly, it’s one of the most underrated vegetables I’ve ever grown. Cardoon has been a staple in Mediterranean gardens for centuries, but it’s practically unknown here in the States. How to Grow and Blanch Cardoon: the Forgotten Mediterranean Artichoke Cousin is a popular choice for gardeners.
I first discovered cardoon at a farmers market in Italy years ago, and I was immediately fascinated by its silvery leaves and incredible size. The vendor explained that the thick leaf stalks are blanched and eaten like celery, but with a unique artichoke-like flavor that’s absolutely delicious. When I came back to Florida, I knew I had to try growing it myself.
Getting Started with Growing Cardoon in Your Garden
Learning how to grow and blanch cardoon starts with understanding this plant’s basic needs. Cardoon (Cynara cardunculus) is a perennial that can reach 4-6 feet tall and spread just as wide, so you’ll need plenty of space. I learned this the hard way when my first cardoon completely took over half my vegetable bed!
The plant prefers full sun and well-draining soil, which makes it perfect for Florida gardens if you can provide some afternoon shade during our brutal summers. I’ve had the best luck planting cardoon in fall here in zone 9b, giving it time to establish before the heat hits. The cooler months are when this Mediterranean native really shines.
You can start cardoon from seed or transplants, though I prefer seeds because they’re more readily available online. University extension services recommend starting seeds indoors 6-8 weeks before your last frost date. In Florida, that means starting them in late summer for fall planting.
The seeds are pretty large and easy to handle, which I love because my fingers aren’t as nimble as they used to be! Plant them about half an inch deep in seed starting mix, and keep the soil consistently moist. They typically germinate in 10-14 days at temperatures around 70-75°F.
Essential Care Tips for Healthy Cardoon Plants
Also read: How to Fix Common Alocasia Problems: Drooping Leaves, Root Rot, and the One Leaf Club
Once your cardoon is established, caring for it becomes much easier than you might expect. These plants are surprisingly drought-tolerant once mature, though they’ll produce better stalks with consistent moisture. I water mine deeply once or twice a week, depending on rainfall.
Cardoon is a heavy feeder, so I work plenty of compost into the soil before planting and side-dress with more compost monthly during the growing season. The plants respond beautifully to rich, organic soil and will reward you with thick, meaty stalks. Don’t skimp on the nutrients, or you’ll end up with tough, stringy stems that aren’t worth eating.
One thing that surprised me about growing cardoon was how much the plants benefit from mulching. I use a thick layer of shredded leaves or grass clippings around the base to keep the soil cool and moist. This is especially important in Florida, where our sandy soil dries out quickly.
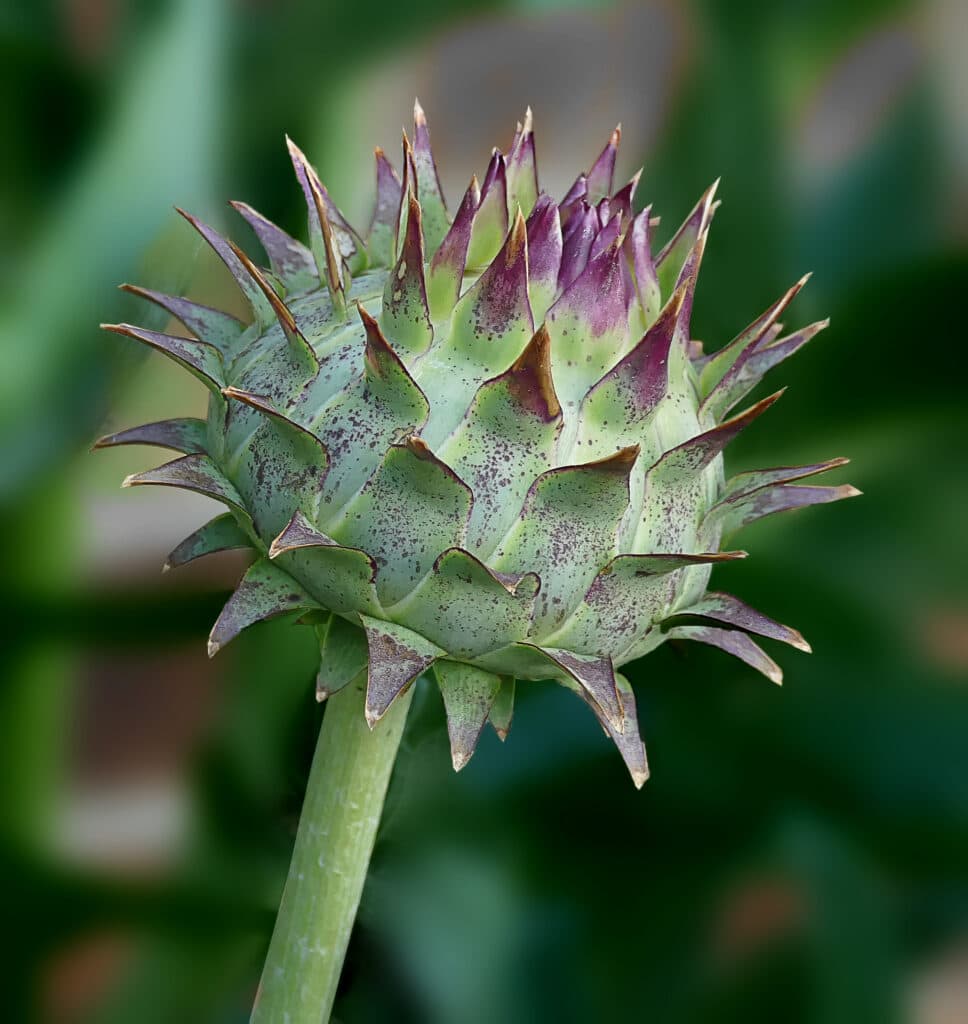
The plants will produce beautiful purple thistle-like flowers in their second year if you let them, but I usually cut the flower stalks off to keep energy focused on leaf production. Those flowers are gorgeous though, and they attract tons of beneficial insects to the garden!
Mastering the Blanching Process for Tender Cardoon Stalks
The blanching process is what transforms tough, bitter cardoon stalks into tender, delicious vegetables. This is the trickiest part of learning how to grow and blanch cardoon, but it’s absolutely worth the effort. Blanching involves excluding light from the leaf stalks for several weeks before harvest, which reduces bitterness and creates that coveted pale color.
I start blanching my cardoon about 3-4 weeks before I plan to harvest, usually in late fall or early winter here in Florida. First, I gather all the outer leaves together and tie them loosely with soft cloth strips. Then I wrap the entire bundle in cardboard, burlap, or even newspaper, securing it with more ties.
The key is to keep light out while still allowing air circulation, so don’t wrap too tightly. I learned this lesson when my first attempt resulted in rotted stalks because I didn’t leave enough breathing room. You want the wrapping snug but not suffocating.
Some gardeners prefer to hill soil up around the base of the plant instead of wrapping, similar to blanching leeks. I’ve tried both methods, and while soil blanching works, I find wrapping gives me more control and cleaner results. Plus, it’s easier to check on the plants’ progress without disturbing the whole setup.
Harvesting and Using Your Homegrown Cardoon
After 3-4 weeks of blanching, your cardoon stalks should be pale and tender enough to harvest. I usually do a test harvest of one outer stalk to check the color and tenderness before cutting the whole plant. The blanched stalks should be creamy white or pale yellow, not green.
To harvest, I cut the entire plant at soil level, then separate the individual stalks. The outer stalks are usually the most tender after blanching, while the inner ones might still be a bit tough. Don’t worry if some stalks aren’t perfectly blanched, they’re still edible, just with a stronger flavor.
Preparing cardoon for cooking requires removing the strings, just like celery but more thorough. I use a vegetable peeler to strip away the tough outer layer and strings from each stalk. It’s a bit tedious, but the results are worth it. Food safety experts recommend washing the stalks thoroughly before peeling.
The prepared stalks can be braised, roasted, or used in gratins and soups. My favorite way to cook cardoon is braised in chicken broth with garlic and herbs. The flavor is subtle and sophisticated, with hints of artichoke and a pleasant earthiness that pairs beautifully with rich dishes.
Growing cardoon has been one of my most rewarding gardening adventures, even though it took me a few tries to get the blanching right. The plant is stunning in the garden, the process is fascinating, and the results are absolutely delicious. Don’t be intimidated by learning how to grow and blanch cardoon: the forgotten Mediterranean artichoke cousin, because once you taste homegrown blanched cardoon, you’ll understand why it deserves a comeback in American gardens!
