
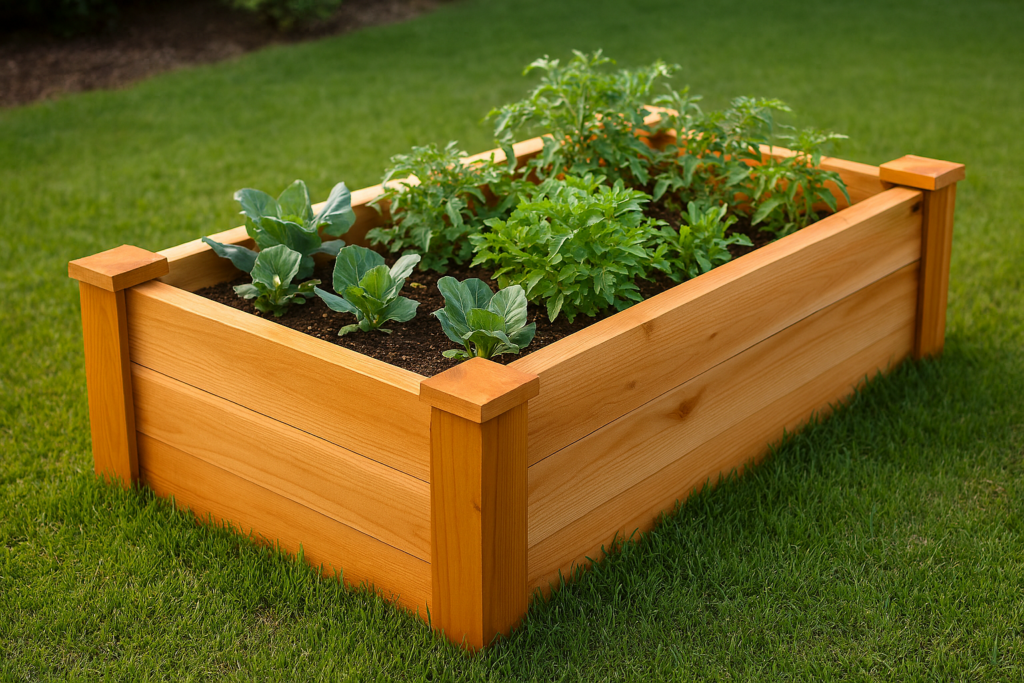
I’ve been building cedar raised garden beds for years here in Florida, and let me tell you, they’re absolute game-changers! When you build a cedar raised garden bed, you’re creating the perfect growing environment that’ll make your plants happier and your gardening life so much easier. Cedar is naturally rot-resistant, which is huge in our humid climate where regular wood would fall apart in no time.
The best part about raised beds is how they solve so many Florida gardening challenges at once. You get better drainage (super important during our rainy season), improved soil quality, and way less bending over to tend your plants. I wish I’d started building these years earlier than I did!
Why Cedar is Perfect for Your Raised Garden Bed Project
When I first decided to build a cedar raised garden bed, I researched tons of different materials. Cedar won hands down, and after five years of Florida weather, I can tell you it was the right choice! The natural oils in cedar wood repel insects and resist rot without any chemical treatments, which means it’s safe for growing food.
Cedar also weathers beautifully to a gorgeous silver-gray color that looks amazing in any yard. I love how my beds have aged and blended into the landscape naturally. Plus, cedar has this lovely, subtle scent that I actually enjoy when I’m working in the garden.
The durability factor is huge here in Florida. Our intense sun, humidity, and heavy rains would destroy treated lumber pretty quickly. My cedar beds are still going strong after all these years, while my neighbor’s pressure-treated beds started falling apart after just two seasons.
You’ll pay more upfront for cedar, but trust me, it’s worth every penny. I calculated that my cedar beds will last at least three times longer than cheaper alternatives, making them actually more economical in the long run.
Materials and Tools You’ll Need to Build a Cedar Raised Garden Bed
You might also enjoy: Simple Planter Trellis
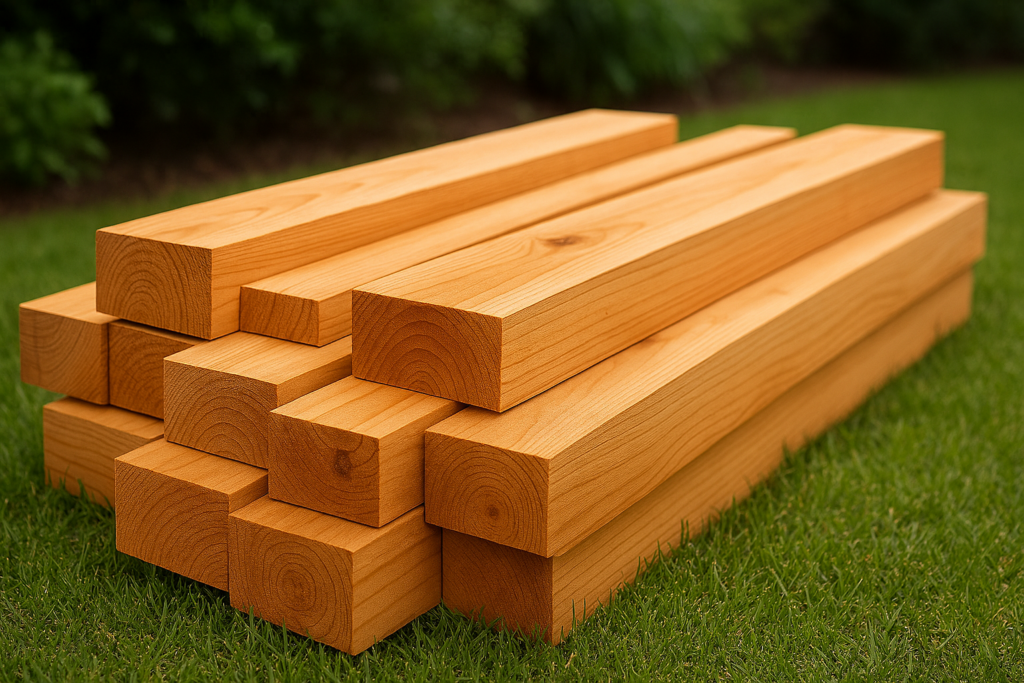
Here’s what I use every time I build a cedar raised garden bed, and I’ve got this list down to a science! For a standard 4×8 foot bed, you’ll need four cedar boards (2×12 inches work great), four corner brackets or wooden corner posts, galvanized screws or bolts, and landscape fabric for the bottom.
I always buy untreated cedar boards because treated wood can leach chemicals into your soil. The University of Minnesota Extension recommends avoiding treated lumber for food gardens, and I completely agree with their guidance.
Tool-wise, you’ll need a drill, screwdriver bits, measuring tape, level, and a saw if you need to cut boards to size. I also keep a rubber mallet handy for adjusting things into place without damaging the wood. Don’t forget safety gear like glasses and gloves!
The corner brackets make assembly so much easier than trying to screw boards directly together. I learned this the hard way after my first attempt resulted in split boards and a lot of frustration. These little metal brackets are total lifesavers and make the whole project much more beginner-friendly.
Step-by-Step Guide to Build Your Cedar Raised Garden Bed
The actual process to build a cedar raised garden bed is surprisingly straightforward once you have all your materials ready. I start by choosing a level spot with at least six hours of daily sun and clearing away any grass or weeds. Don’t worry about making it perfectly level – you can adjust as you go.
Next, I lay out the boards in a rectangle and attach the corner brackets. This is where having a helper really comes in handy, though I’ve definitely done it solo plenty of times. Make sure your corners are square by measuring the diagonals – they should be equal lengths.
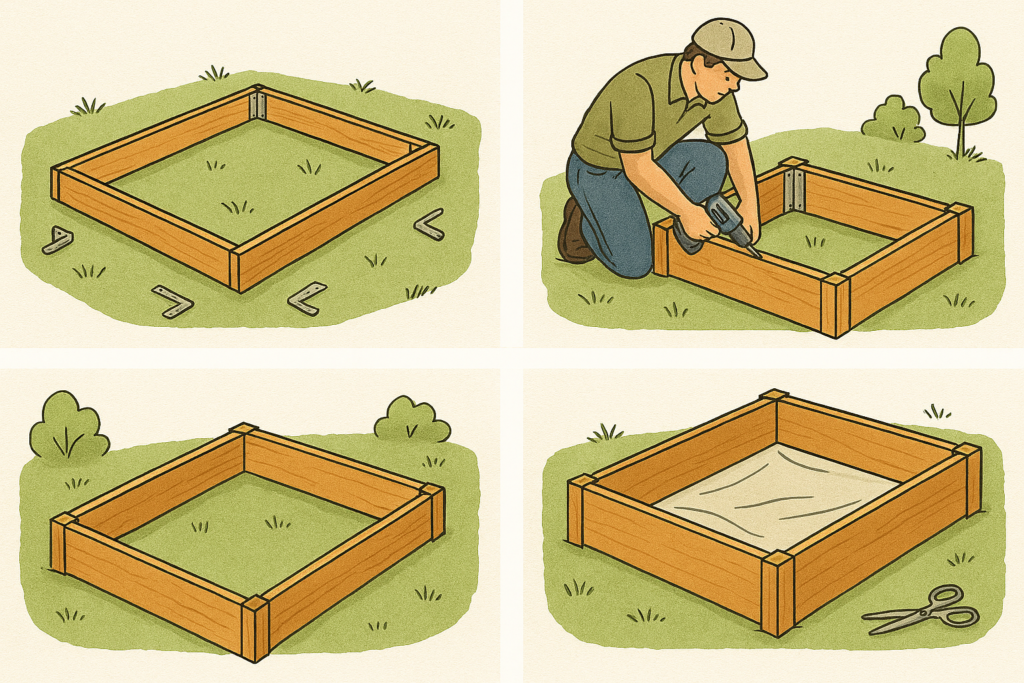
Once the frame is assembled, I position it in the chosen spot and check that it’s reasonably level. If one corner is high, I’ll dig out a little soil underneath rather than trying to add soil to raise the low spots. The USDA recommends this approach for better stability and drainage.
Finally, I line the bottom with landscape fabric to prevent weeds from growing up through the bed while still allowing drainage. Some people skip this step, but I’ve found it saves so much weeding time later. Then it’s time to fill with quality soil mix and start planting!
Florida-Specific Tips for Long-Lasting Success
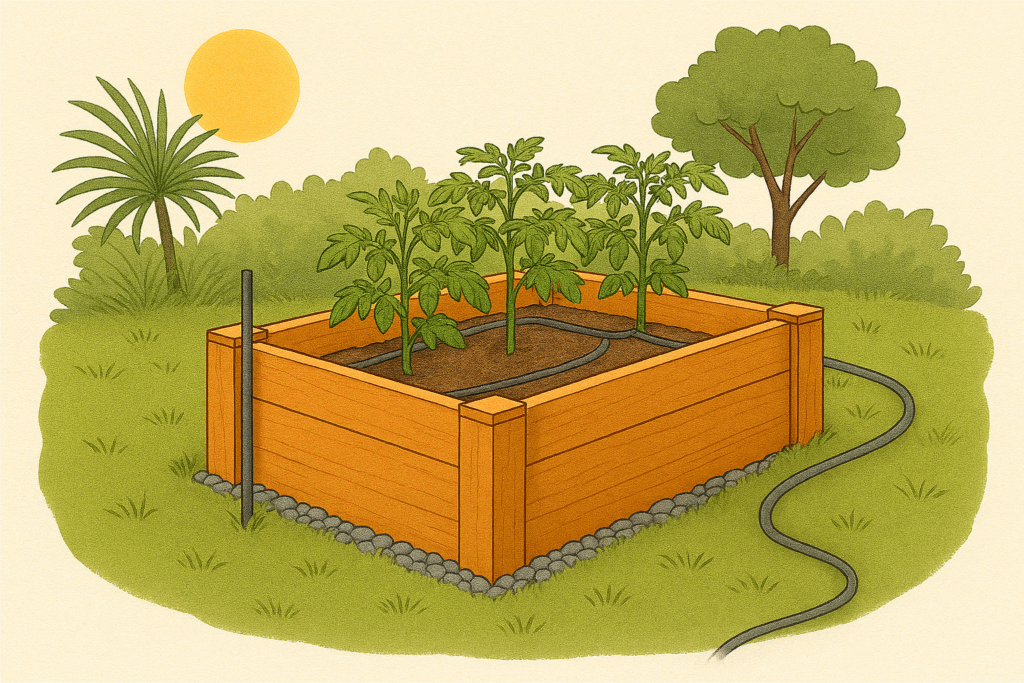
Living in Florida means dealing with some unique challenges that affect how your raised beds perform over time. Our intense summer heat can really stress plants, so I always position my beds where they’ll get some afternoon shade during the hottest months. Morning sun is more important than blazing afternoon sun anyway.
Drainage is absolutely critical here because of our heavy summer rains. I always add a few inches of gravel or broken pottery to the bottom of my beds before adding soil. This extra drainage layer has saved my plants during those weeks when it seems like it rains every single day.
The soil in raised beds dries out faster than ground-level gardens, which is usually good for drainage but means more frequent watering. I’ve installed drip irrigation on most of my beds, and it’s been a total game-changer for keeping plants consistently watered without waste.
Hurricane season is another consideration that most gardening guides don’t mention. I’ve learned to secure my beds with landscape stakes during storm season. It might seem like overkill, but I’ve seen lightweight beds get tossed around by strong winds, and it’s heartbreaking to lose a whole season’s work.
Building cedar raised garden beds has honestly transformed my gardening experience here in Florida. The improved drainage, better soil control, and easier maintenance make growing vegetables and flowers so much more enjoyable. Every time I walk past my beautiful, weathered cedar beds filled with thriving plants, I’m reminded of why this project was one of the best gardening investments I’ve ever made.
If you’re on the fence about whether to build a cedar raised garden bed, I say go for it! Start with just one bed and see how much you love it – I guarantee you’ll be planning your second bed before the first one is even planted.
