
Air layering for houseplants is my go-to method for propagating those stubborn plants that just won’t root from regular cuttings. I discovered this technique when my rubber tree got too tall for my living room, and regular stem cuttings kept failing on me. Air layering basically tricks the plant into growing roots while it’s still attached to the parent plant, which means you get a much higher success rate. Air Layering for Houseplants: Step-by-step Propagation of Difficult-to-root Plants is a popular choice for gardeners.
This method works amazingly well for thick-stemmed plants like rubber trees, fiddle leaf figs, dracaenas, and even some of the trickier philodendrons. Instead of crossing your fingers and hoping a cutting will root, you’re giving the plant everything it needs to develop a strong root system before you ever make the final cut.
What Makes Air Layering for Houseplants So Effective
The magic of air layering lies in how it mimics what happens in nature. When a branch gets wounded and stays moist, it naturally tries to grow roots at that spot. We’re just creating those conditions on purpose and giving the plant some extra help along the way.
I love this method because the cutting stays connected to the parent plant the whole time it’s developing roots. That means it’s getting all the nutrients and water it needs from the established root system. There’s no shock, no wilting, and no wondering if your cutting is going to make it.
The success rate is honestly incredible compared to regular propagation. I’d say I get roots about 90% of the time with air layering, versus maybe 50% success with stem cuttings on the same types of plants. Plus, you end up with much stronger, more developed roots right from the start.
Here in Florida, our humidity actually helps with this process. The warm, moist air means the moss stays damp longer, and roots tend to develop faster than they would in drier climates.
Step-by-Step Air Layering Process for Difficult Plants
You might also enjoy: Starting Tomato and Pepper Seeds Indoors in February
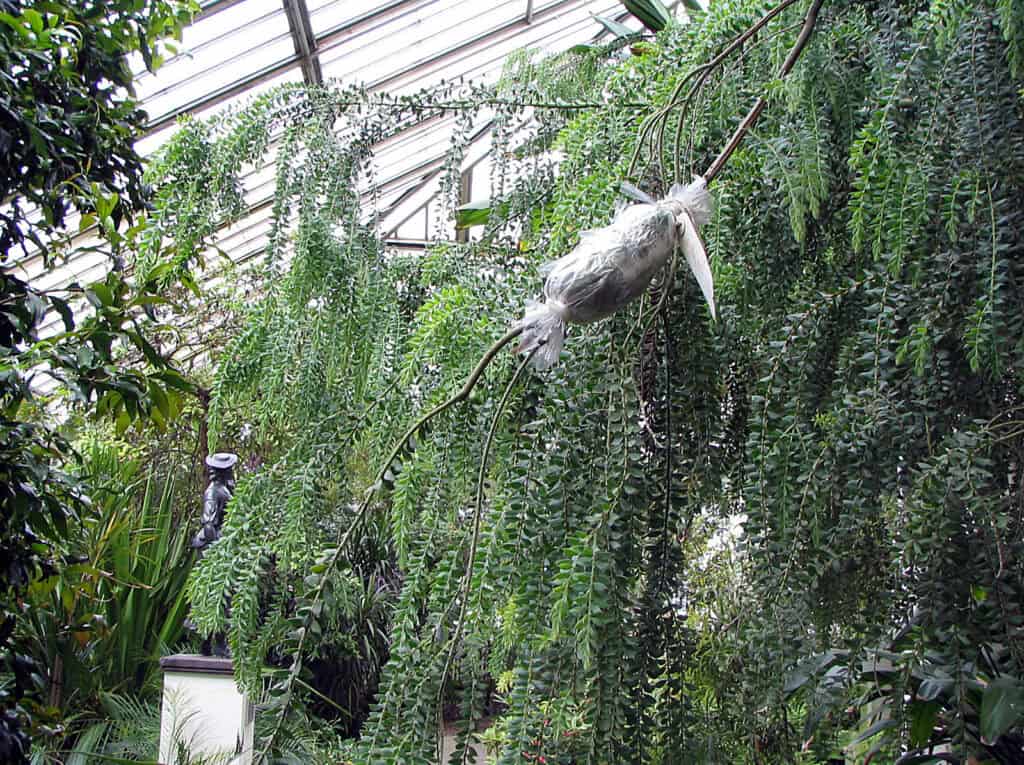
First, you’ll need to gather your supplies. I keep sphagnum moss, plastic wrap, twist ties, and a sharp knife on hand for air layering projects. You can find sphagnum moss at most garden centers, and it’s worth getting the good stuff since it holds moisture so well.
Choose a healthy stem that’s about pencil-thick or larger. I usually pick a spot about 12 to 18 inches from the tip of the branch. Make sure there are no leaves right where you’re planning to work, or trim them off carefully.
Now comes the fun part. Make a shallow cut about halfway through the stem, angling it slightly upward. Some people like to remove a ring of bark instead, but I find the single cut works just as well and is less likely to damage the plant.
Soak your sphagnum moss in water until it’s thoroughly wet but not dripping. Squeeze out the excess water, then pack it around the cut area. You want a good handful of moss, maybe about the size of a tennis ball when it’s all wrapped up.
Wrapping and Maintaining Your Air Layer Setup
Wrap the moss-covered area with plastic wrap, making it into a little package. I use clear plastic so I can see what’s happening inside, which is half the fun of this whole process. Secure both ends with twist ties or rubber bands, making sure it’s snug but not so tight that you’re cutting into the stem.
The key to success is keeping that moss consistently moist. I check mine every week or so, especially during our hot Florida summers when things dry out faster. If the moss looks dry, carefully unwrap one end and add a little water with a spray bottle.
You should start seeing tiny white root nubs within 3 to 6 weeks, depending on the plant and the time of year. Don’t get impatient and unwrap it too early! I made that mistake with my first attempt and had to start over. Wait until you can see several roots that are at least an inch long.
The whole process usually takes 6 to 12 weeks. Faster-growing plants like pothos or monstera might surprise you with quick results, while slower plants like fiddle leaf figs take their sweet time.
Finishing the Process and Caring for New Plants
Once you’ve got good root development, it’s time for the big moment. Cut the stem just below your air layer setup using clean, sharp pruners. I always feel a little nervous making this cut, but remember that your new plant already has roots, so it’s much less risky than regular propagation.
Carefully remove the plastic wrap and gently tease away some of the moss from the roots. You don’t need to get it all off, just enough so you can see what you’re working with. Those roots might look a little different from regular roots since they developed in such a moist environment.
Plant your new baby in a pot that’s just slightly larger than the root ball. I use regular potting mix, nothing fancy. Water it gently and place it in bright, indirect light while it adjusts to its new life as an independent plant.
Keep the soil consistently moist for the first few weeks, but don’t overwater. The plant is still figuring out how to use its new root system efficiently. I’ve found that newly air-layered plants sometimes go through a brief adjustment period where they might drop a few leaves, but don’t panic if this happens.
Air layering for houseplants has honestly revolutionized how I approach propagation, especially for those plants that used to give me trouble. The technique might seem a bit involved at first, but once you try it, you’ll be amazed at how well it works. I’ve successfully propagated everything from massive rubber trees to finicky crotons using this method, and each success makes me more confident to try it on new plants.
